












Champion Epoxy Adhesive
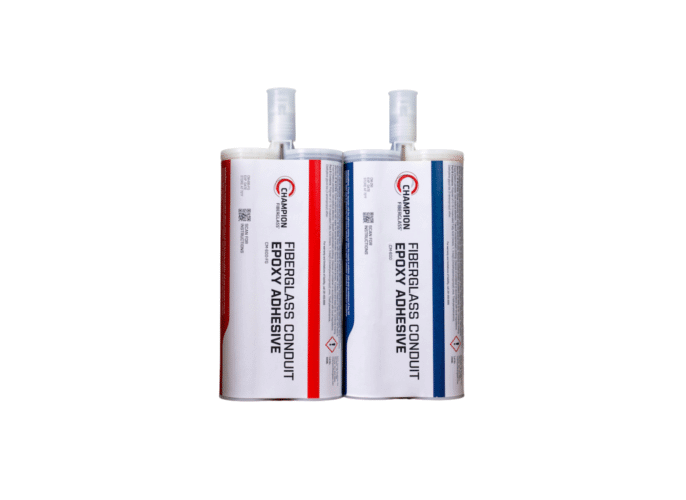
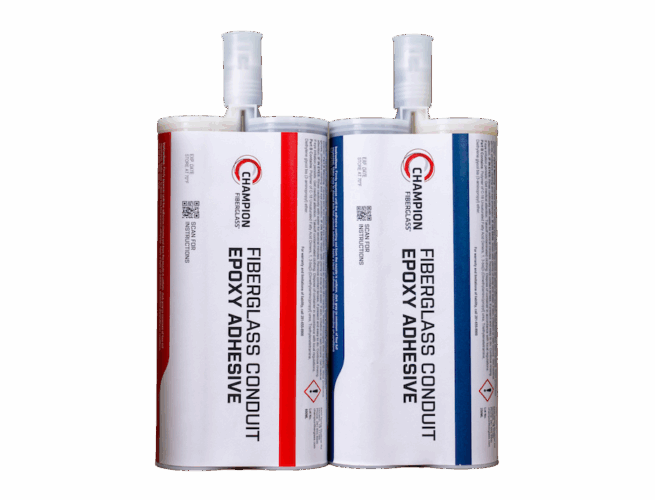
The Champion Epoxy Adhesive system is a two-part adhesive (1-to-1 mix ratio), epoxy resin system, designed to permanently bond fittings and joints of fiberglass reinforced epoxy conduit. It is also designed for use with pultruded polyester and vinyl ester components. Each cartridge system contains resin, hardener and one plastic static mixer. An adhesive gun and mixing tip is required for applying the adhesive (ordered separately). If a faster setting adhesive is desired, there is a Champion Mix® adhesive available that gels much faster. The “Fast Gel” adhesive can be specified by adding the suffix “-FG” to the item numbers. Because the “Fast Gel” adhesive sets up quicker, additional mixing tubes may be required. The epoxy adhesive is available in two convenient dispensing tube sizes: 250 ML and 600 ML (2 – 300 ML tubes side-by-side). The CM-250 & CM-250-FG adhesive tubes utilize a high ratio standard caulk gun that can be purchased at any local retail store.
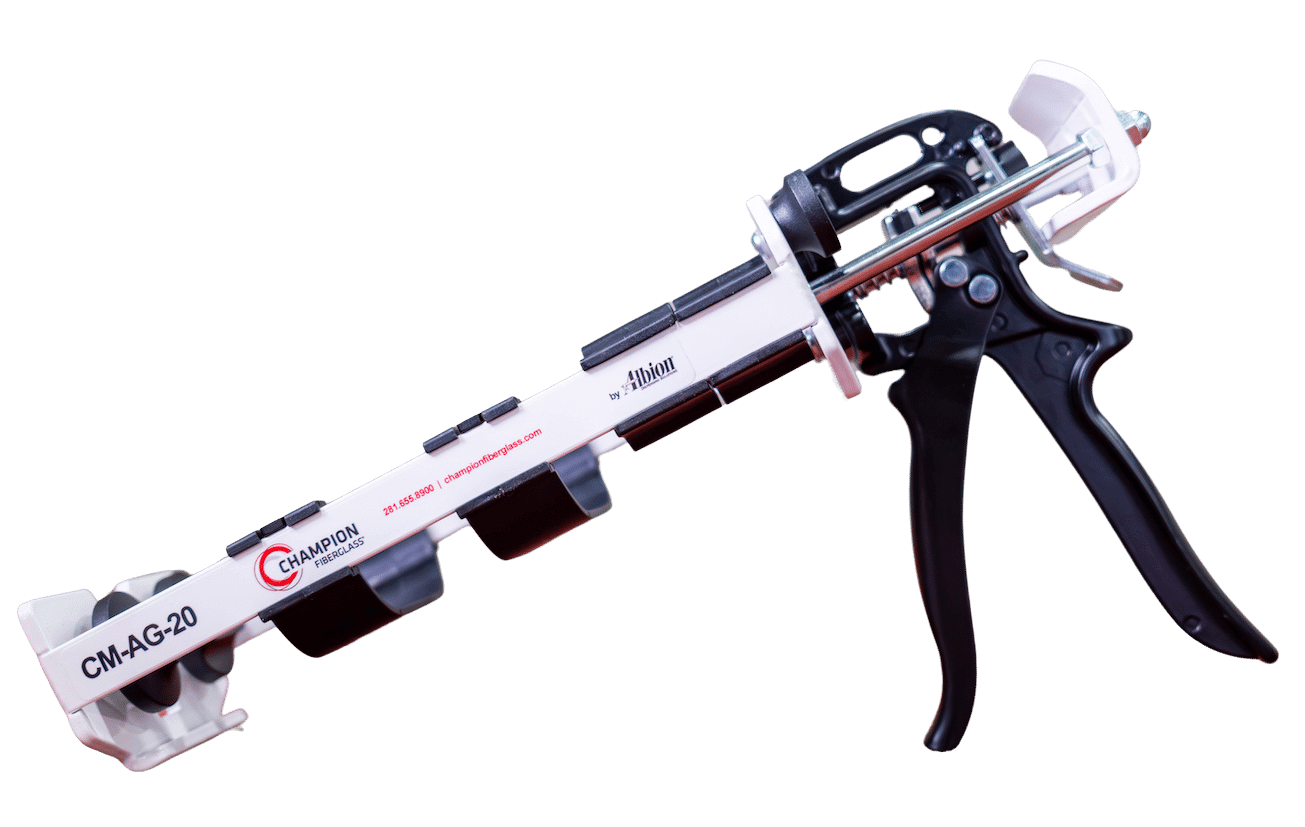
Adhesive Gun
Champion Fiberglass adhesive guns are only available for the 600 ML adhesive tube sizes. The 250 ML adhesive size utilizes a high ratio standard caulk gun that can be purchased at any local retail store.
Champion Epoxy Adhesive
Advantages
Champion Epoxy Adhesive offers the following benefits:

Champion Epoxy Adhesive Features:
- This Champion Mix adhesive is NOT considered a ”Dangerous Good” or hazardous material, so it can be shipped VIA air freight if required.

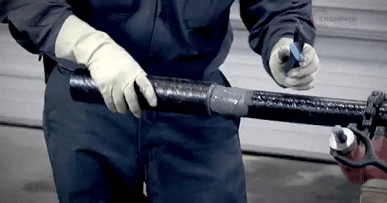
How to Bond RTRC Conduit Joints
- Prepare the conduit. Cut the end of the conduit with a diamond tip chop saw blade or portaband saw. Field cutting and joint preparation are demonstrated in the Field Cutting installation video.
- Abrade the bonding surfaces. Using 60 grit emery cloth, sand the inside of the coupling and the outside of the conduit to the depth of the coupling, until the sheen is removed from the conduit.
- Clean the joint. Use a rag to remove any loose material, oil and dirt from the area to be bonded.
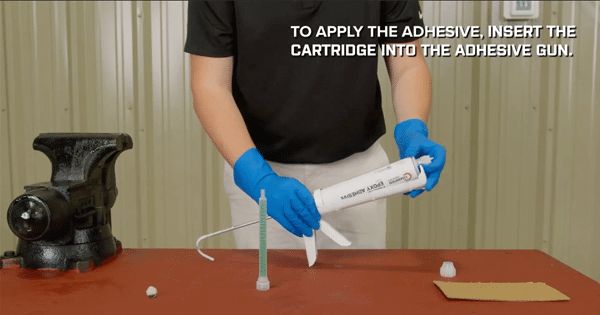
- Load and prime the cartridge. Champion Epoxy Adhesive is a two-part epoxy resin system supplied at a 1-to-1 mix ratio in a 600 ML cartridge, two 300 ML tubes side by side, with one plastic static mixer. Insert the cartridge into the adhesive gun, fit the static mixer, and prime by pumping the gun to fill the mixer.
- Apply and assemble. Apply the adhesive at least 1/4 inch back from the end of the conduit in a zigzag pattern, then twist the coupling onto the prepared conduit.
- Finish and cure. Smooth any excess adhesive with a spatula or gloved finger. The adhesive gels within a few minutes and reaches full cure several minutes after that. For cold-weather or rapid-sequence work, specify the Fast Gel formulation by adding the suffix -FG to the item number; because Fast Gel sets faster, additional mixing tubes may be required.
The adhesive bonds fiberglass conduit to fiberglass and to PVC Schedule 40 and 80, and is also designed for use with pultruded polyester and vinyl ester components. It is not classified as a dangerous good, so it can ship by air freight. To estimate cartridge counts for a project, use the Epoxy Adhesive Calculator.

CHAMPION ADHESIVE EPOXY
Product Information
Champion Epoxy Adhesive
Instructions
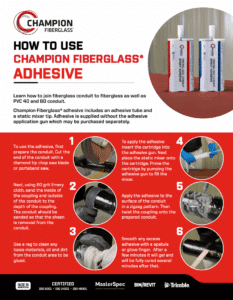
Learn how to join fiberglass conduit to fiberglass as well as PVC 40 and 80 conduit.
Champion Fiberglass® adhesive includes an adhesive tube and a static mixer tip. Adhesive is supplied without the adhesive application gun which may be purchased separately.
Step 1
To use the adhesive, first prepare the conduit. Cut the end of the conduit with a diamond tip chop saw blade or portaband saw.

Step 4
To apply the adhesive, insert the cartridge into the adhesive gun. Next, place the static mixer onto the cartridge. Prime the cartridge by pumping the adhesive gun to fill the mixer.

Step 2
Next, using 60 grit Emery cloth, sand the inside of the coupling and outside of the conduit to the depth of the coupling. The conduit should be sanded so that the sheen is removed from the conduit.

Step 5
Apply the adhesive at least 1/4 of an inch back from the end of the conduit in a zigzag pattern. Then twist the coupling onto the prepared conduit.

Step 3
Use a rag to clean any loose materials, oil, and dirt from the conduit area to be glued.

Step 6
Smooth any excess adhesive with a spatula or glove finger. After a few minutes it will gel and will be fully cured several minutes after that.

Champion Epoxy Adhesive
Engineering
A 100% DIGITAL FACILITY THAT STRIVES TO MEET ENVIRONMENTAL AND SYSTEM MANAGEMENT REQUIREMENTS
- ISO 9001 – Certified in quality management systems for over a decade
- ISO 14001 – World’s premier environmental management certification
- ISO 45001 – Certified occupational health and safety management systems
Champion Epoxy Adhesive
Installation Guide
-

Fiberglass Conduit Epoxy Adhesive
See how easy epoxy adhesive is to join conduit and couplings in this instructional video. -

Field Cutting
Learn how to field cut Champion Fiberglass conduit, and how to prepare and make adhesive joints. -